CSCM: Minecraft servers from one dashboard
CSCM brings server creation, files, backups, player controls and public Playit addresses into a single self-hosted app.
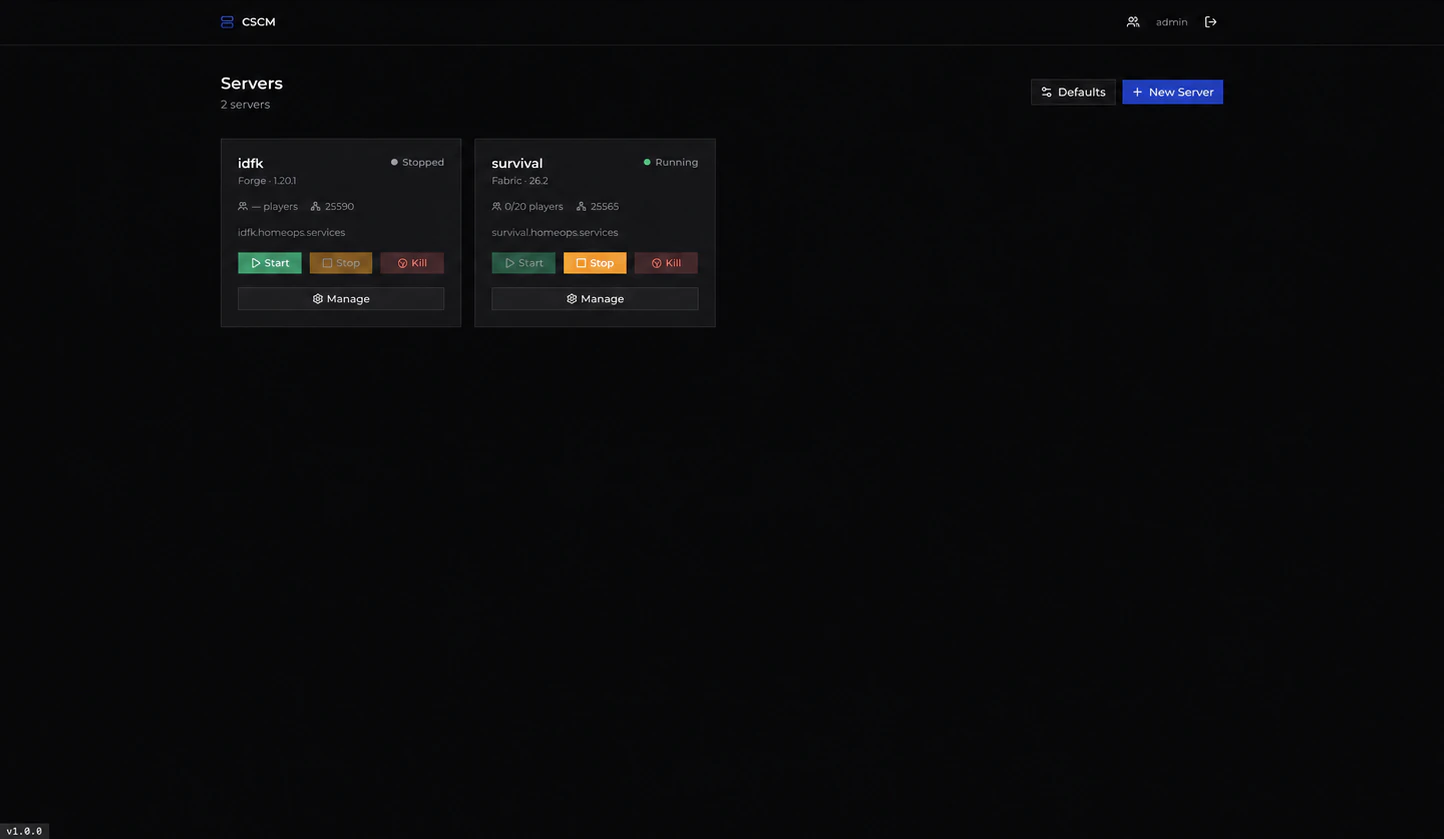
Running a Minecraft server should not require juggling a control panel, Docker commands and a separate tunnel dashboard. CSCM brings those jobs together in a self-hosted web app.
From the dashboard, you can create and manage Java and Bedrock servers, inspect players and server activity, change properties and versions, work with files, and make backups. The app runs with Docker Compose and keeps its data on your own machine.
The CSCM wiki has device-specific installation steps and a usage guide.
Install it
On macOS or Linux, install Docker with Compose and Git, then run:
curl -fsSL https://lephor.com/cscm/install.sh | shThe guided setup asks where to keep your servers and whether to give them public Playit addresses. If you choose a managed Playit agent, it runs alongside CSCM in Docker; setup asks you to create an agent in your Playit account and paste its secret key. Cloudflare DNS is optional. You can use Playit addresses directly.
For Windows, run the same command in WSL 2 with Docker Desktop integration. The installation guide has separate macOS, Linux and Windows steps.
First launch
Open the local dashboard at the address printed by the installer. Create the administrator account, scan the authenticator QR code and enter one current six-digit code to finish registration. Then create your first server from the dashboard.
The CSCM usage guide walks through server creation, public addresses, backups and day-to-day management. The source code is available on GitHub.